|
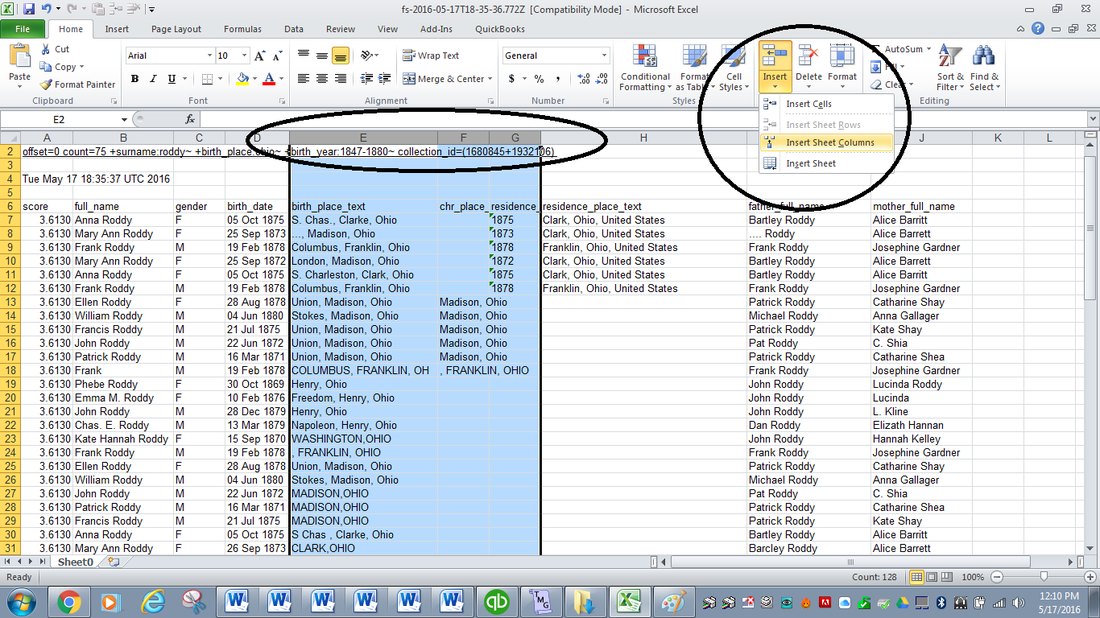
Have you experimented with importing data directly from Ancestry.com and FamilySearch.org as I explained in my blog posts, “Spreadsheet Magic - Importing Data From Ancestry.com” and “More Spreadsheet Magic – The Importance of Exportance”? Great tricks, huh? But there’s one thing I really don’t like about the imports and exports – the pieces of data, such as First-and-Last-Name or Date-Month-Year appear in one field. That makes sorting the data difficult. But there’s a trick for that. Let me show you how. Here are the first 20 or so results from my FamilySearch.org search for Roddys born in Ohio. I’d like to be able to split the data from Column D into multiple columns for day, month and year. (I’d also probably like to sort the names in columns B, I and J into separate columns, but I’ll show how to divide the dates as an example.)
 Now it looks like this: 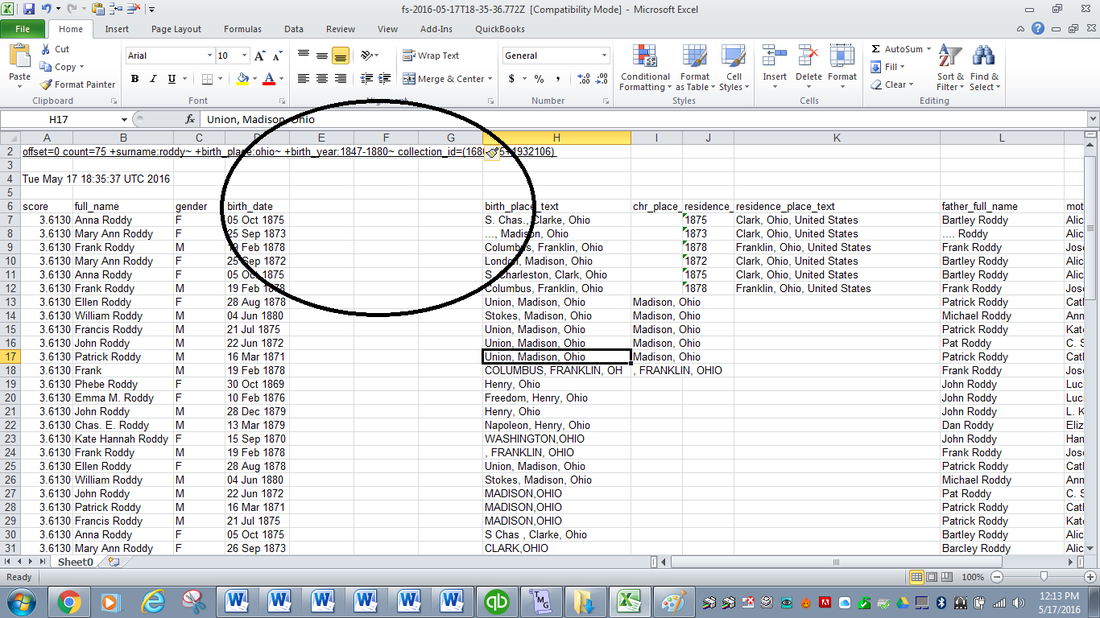 Click on the Data tab at the top to expose the Data tools ribbon. Highlight the column of text you want to split. You can have as many rows as you want, but only one column. Then click on the Text to Columns icon and it will bring up the first of 3 “Convert Text to Column Wizard” screens as shown below. 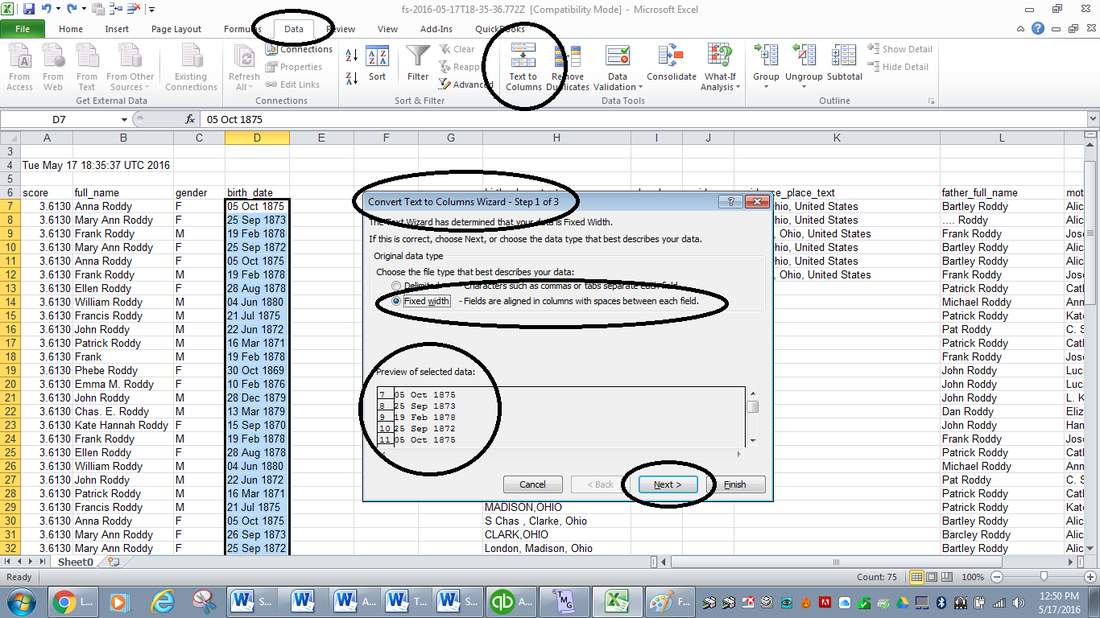 Excel is pretty good at figuring out what I want to do. You can see 2 radio buttons – “Delimited” and “Fixed Width.” Excel has looked at the data and seen that it is all divided into fixed widths – 2 units for the day, a space, 3 units for the month, a space and then 4 units for the year. It is even all the way down. (But if we wanted to split the Father’s Name column, we would likely want to use the delimited radio button because the words are of varying length but delimited by a space in between them.) Excel even shows me a preview of what the data will look like. Excel has guessed correctly what we want to do, so click “Next.” This brings up Wizard box 2. I could futz with this, but generally what Excel thinks I want to do is what I do want to do so I just click “Next.” Now we are on the 3rd Wizard box. I like to keep my original column of data as it came out of the database, and then create new columns for the “divided” data. In other words I will keep the column that has birthdate shown as 05 Oct 1875 in Column D, and then have 3 new columns for Day, Month and Year, showing “05” in column E, “Oct” in Column F and “1875” in column G. This is my personal preference. You might chose just to overwrite the original data. In order to set up the new columns, I click on icon to the right of the destination box and then point to where I want the new data to begin, in this case $E$7 and then click Finish. 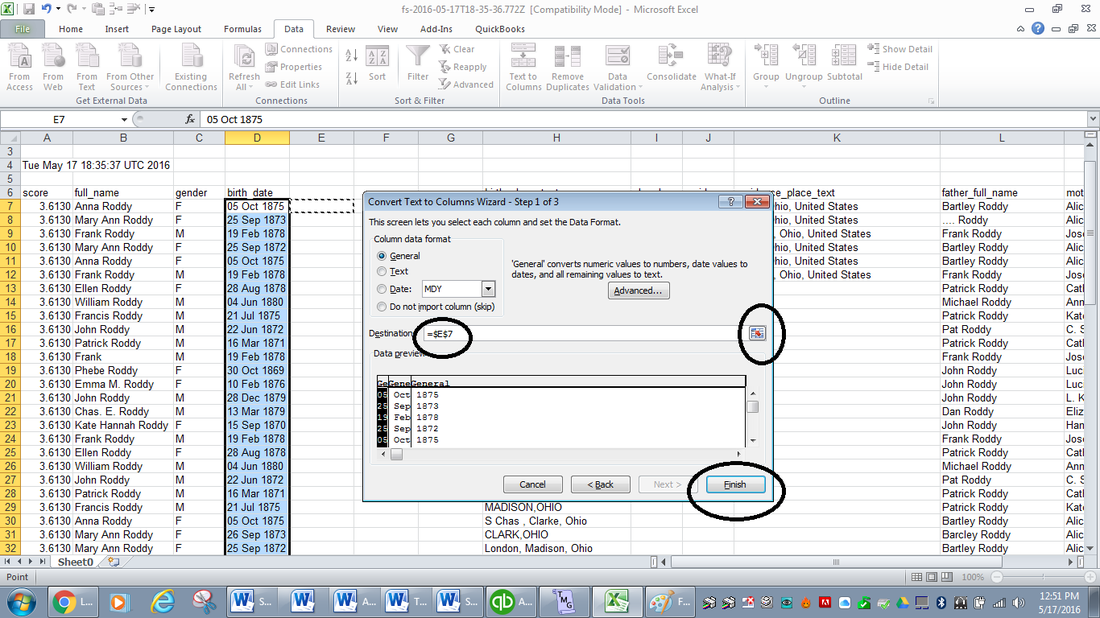 Here’s what my data looks like after the Text-to-Columns exercise is complete. I can now sort the data by year, month and day to put these births in chronological order. 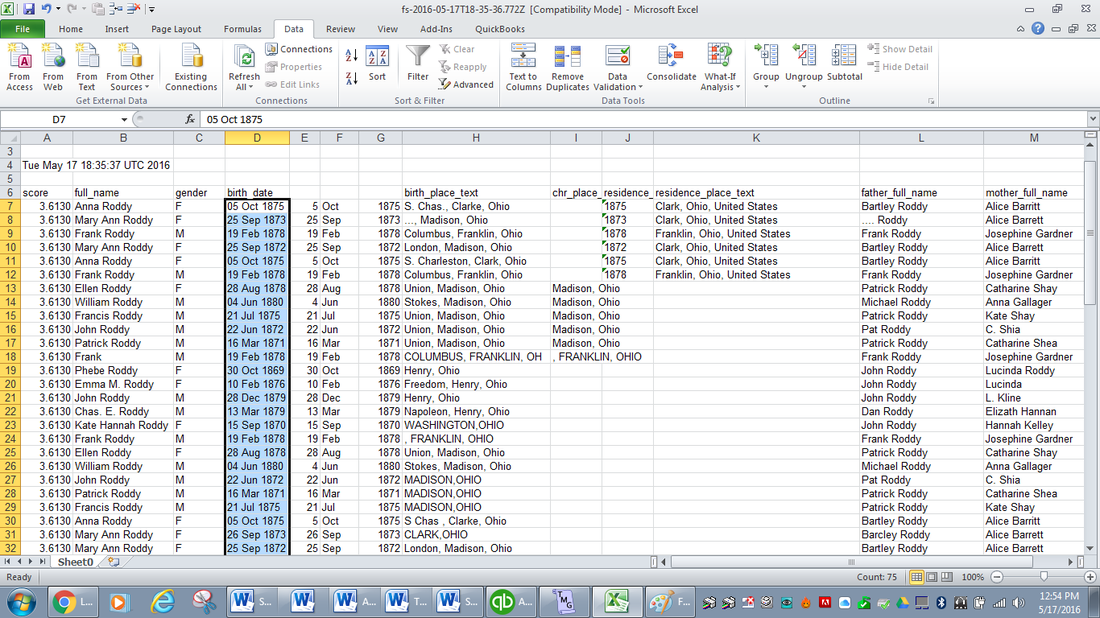 I hope these instructions help you to get more use out of your spreadsheets. Text to Columns is a powerful tool, making your spreadsheets more usable with less typing. Try it! If you want to see more spreadsheet tools and tricks, you can check out my LegacyFamilyTree webinars at http://familytreewebinars.com/maryroddy
1 Comment
5/24/2016 10:21:52 am
What an excellent post. Very helpful. Thank you so much. I had no idea Excel could do that. I have yet to import any information, but I know I will be soon. Your comment will be posted after it is approved.
Leave a Reply. |
AuthorMary Kircher Roddy is a genealogist, writer and lecturer, always looking for the story. Her blog is a combination of the stories she has found and the tools she used to find them. Archives
April 2021
Categories
All

|
